Guide · 5 steps
Track a trip or project with a Spark
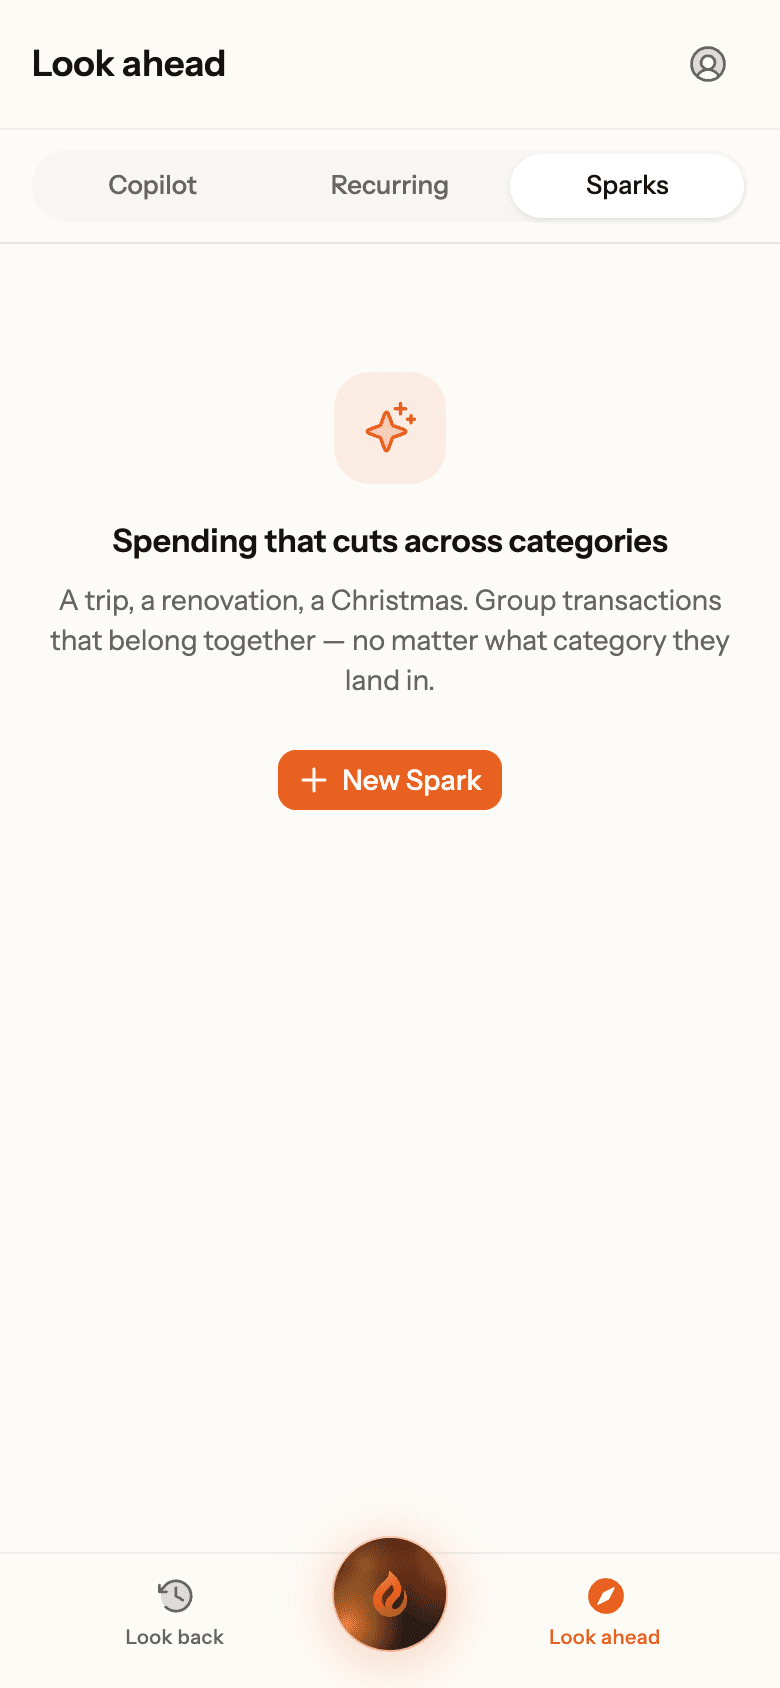
A Spark collects spending that cuts across categories: a trip, a renovation, Christmas. Flights, hotels and meals out all land in one place, with an optional budget.
Step 1: Create a Spark
Go to Look ahead › Sparks and tap New Spark (or New, once you have one). Give it a name, a type and dates, and a budget if you want one. Choose Household or Private. Tick Exclude from spending trends if it shouldn’t affect your pace. Tap Create Spark.
Real Ember screen · sample household Step 2: Add transactions
- From a transaction: tap + Spark and pick the Spark.
- Several at once: on Transactions, tap Select, choose them, then More › Add to Spark.
- From the Spark: Ember suggests transactions that look like they belong. Attach them or dismiss them.
A transaction can belong to one Spark at a time.
Step 3: Keep an eye on it
The Spark shows the total so far, how much of the budget is left and where the money went.
Step 4: Save towards it (optional)
Ask Ember in chat to put a monthly amount towards the Spark, or do it while setting up Copilot. Ember can tell you when it’ll be fully funded. This is planning only: no money moves.
Step 5: Wrap it up
When it’s over, tap Mark complete, or Archive this Spark. Its transactions stay attached either way.