Guide · 5 steps
Check your subscriptions and bills
Ember finds your subscriptions and bills from a few charges at the same cadence. Here’s how to check them and correct anything it got wrong.
Step 1: Open Recurring
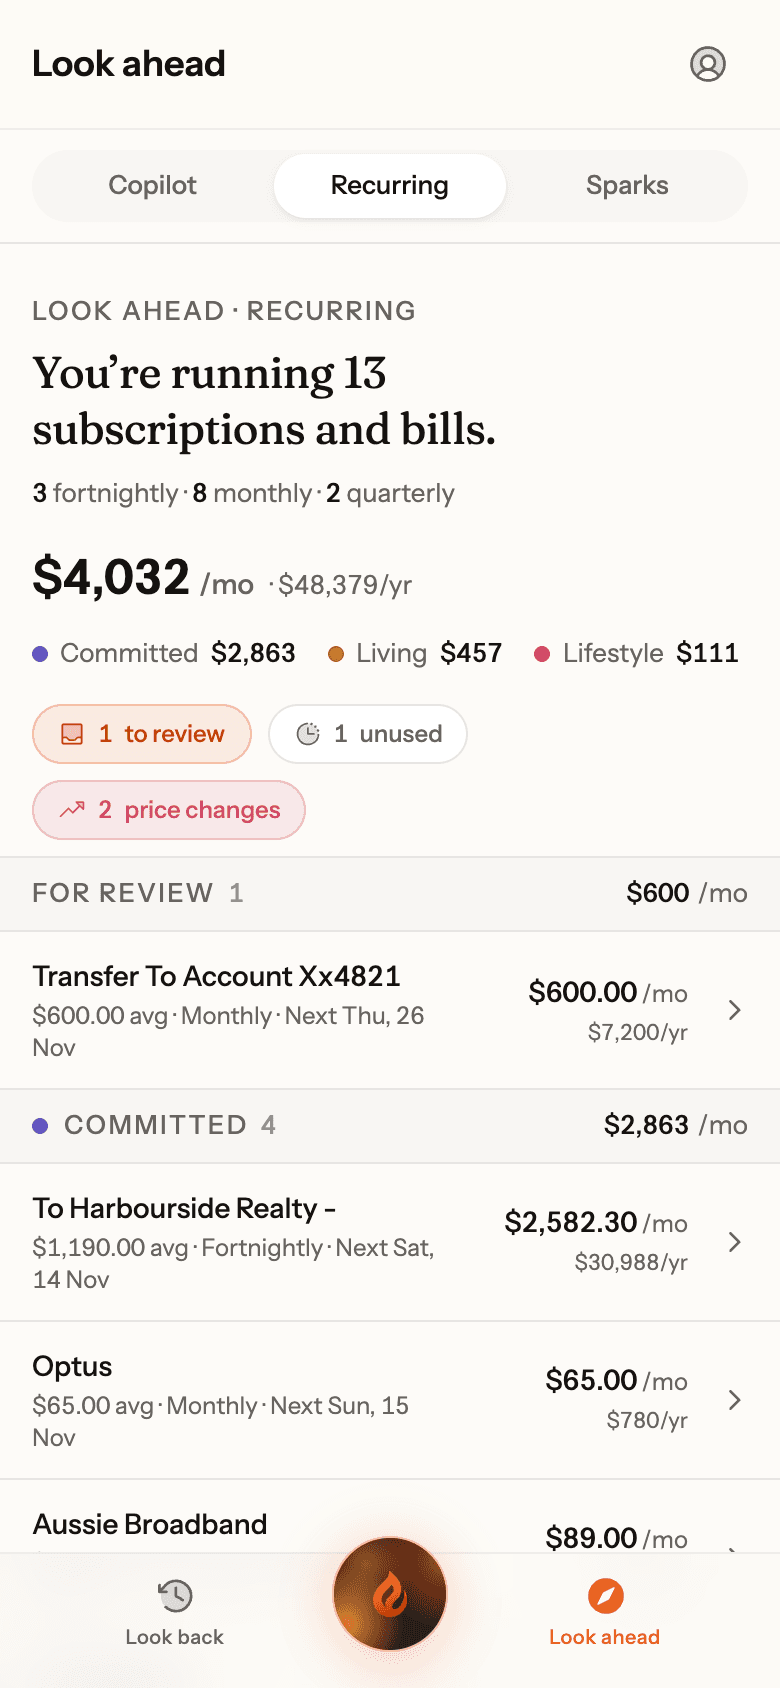
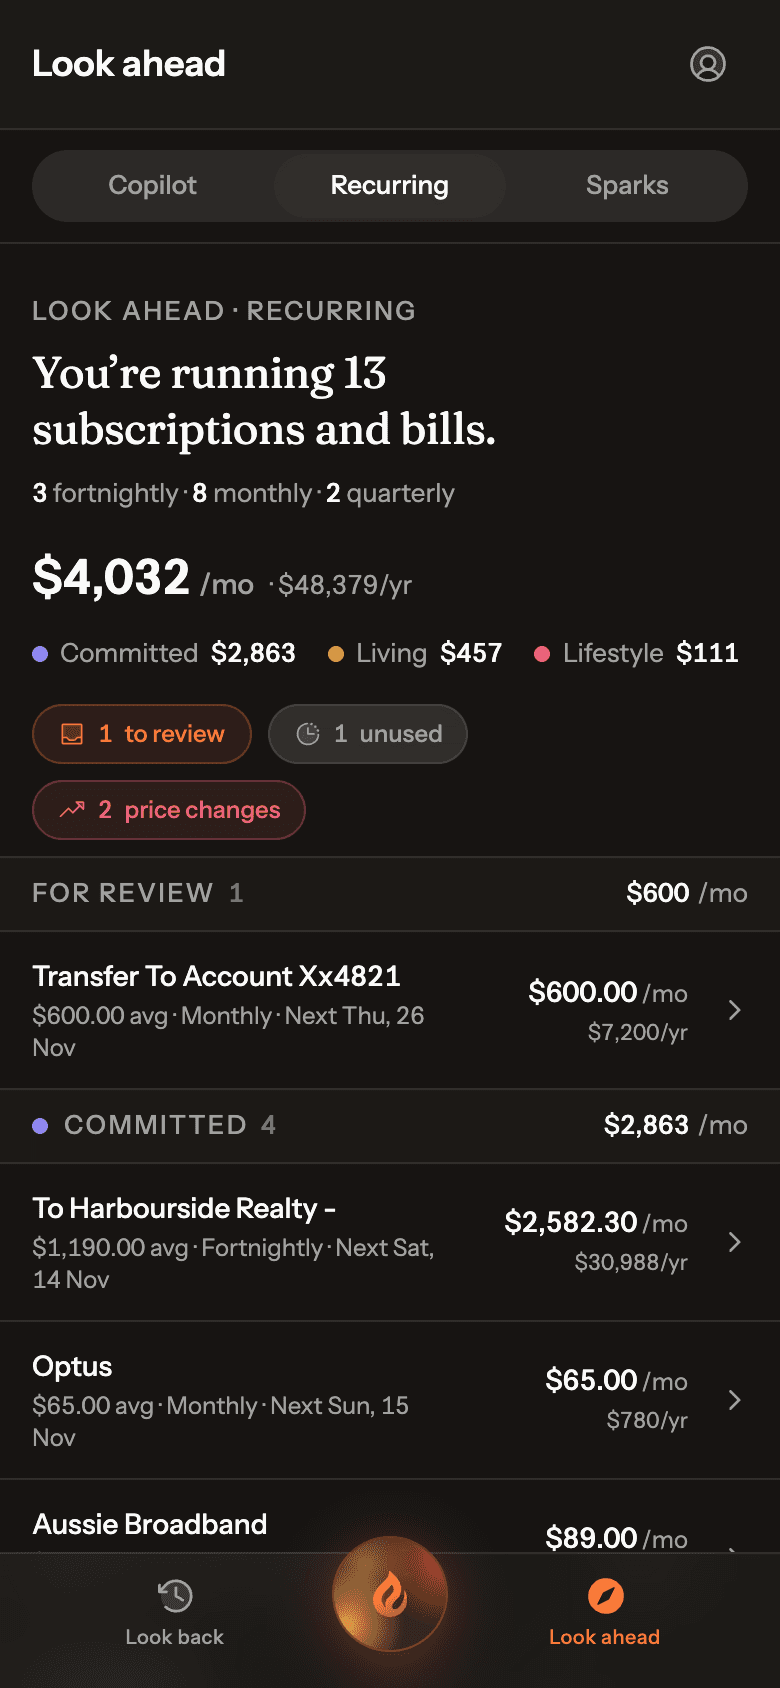
Go to Look ahead › Recurring. You’ll see how many regular payments you have, what they cost a month and a year, and how they split between Committed, Living and Lifestyle.
Real Ember screen · sample household Step 2: Check the flags
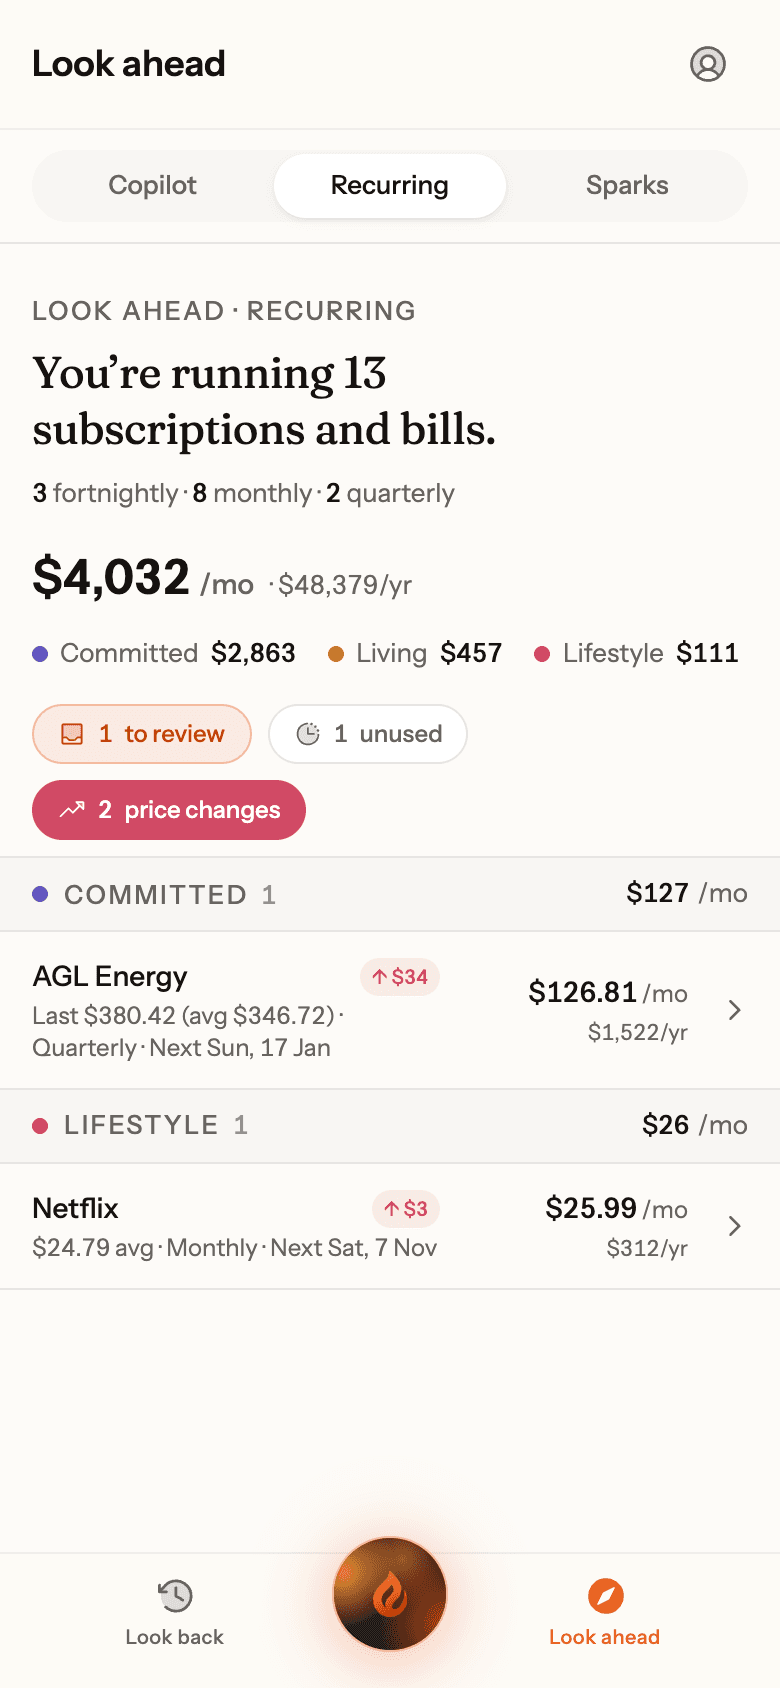
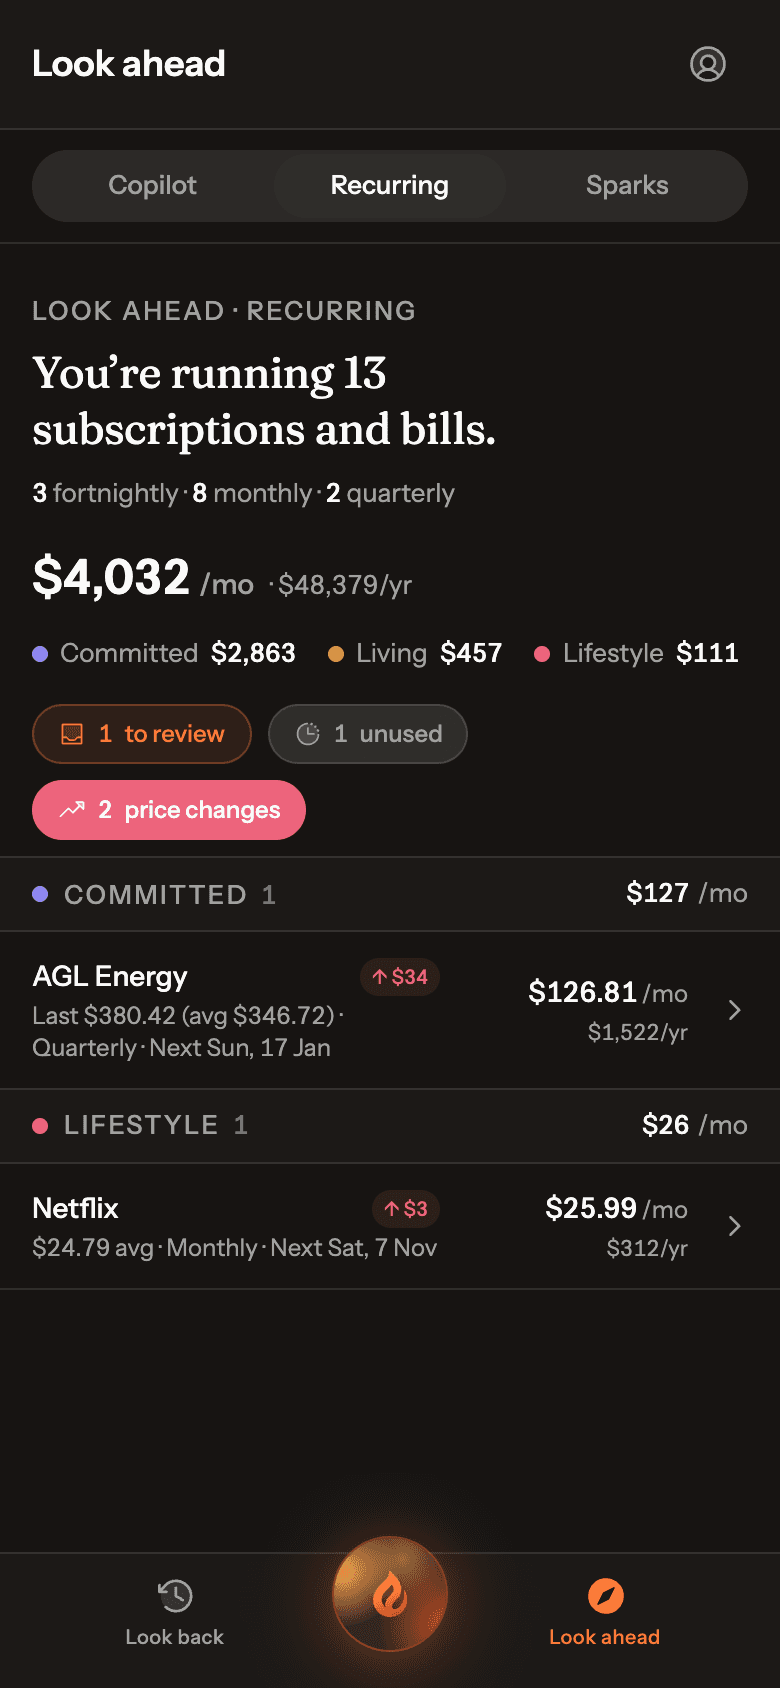
The chips at the top filter the list: to review (new ones for you to confirm), unused (hasn’t charged when expected) and price changes.
Real Ember screen · sample household Step 3: Tap a payment to correct it
Change its name, how often it charges, the expected amount or its type. Under Status, choose Confirm, I cancelled this (keeps the history, stops expecting it) or Mark as one-off.
Step 4: Add one Ember missed
Open a transaction from it. On its Recurring card, tap Mark as recurring, or Track as recurring if you’ve only been charged once (Ember asks how often).
Step 5: See what’s coming
Home shows bills due in the next 7 days under Coming up. See all upcoming opens the month-ahead calendar.
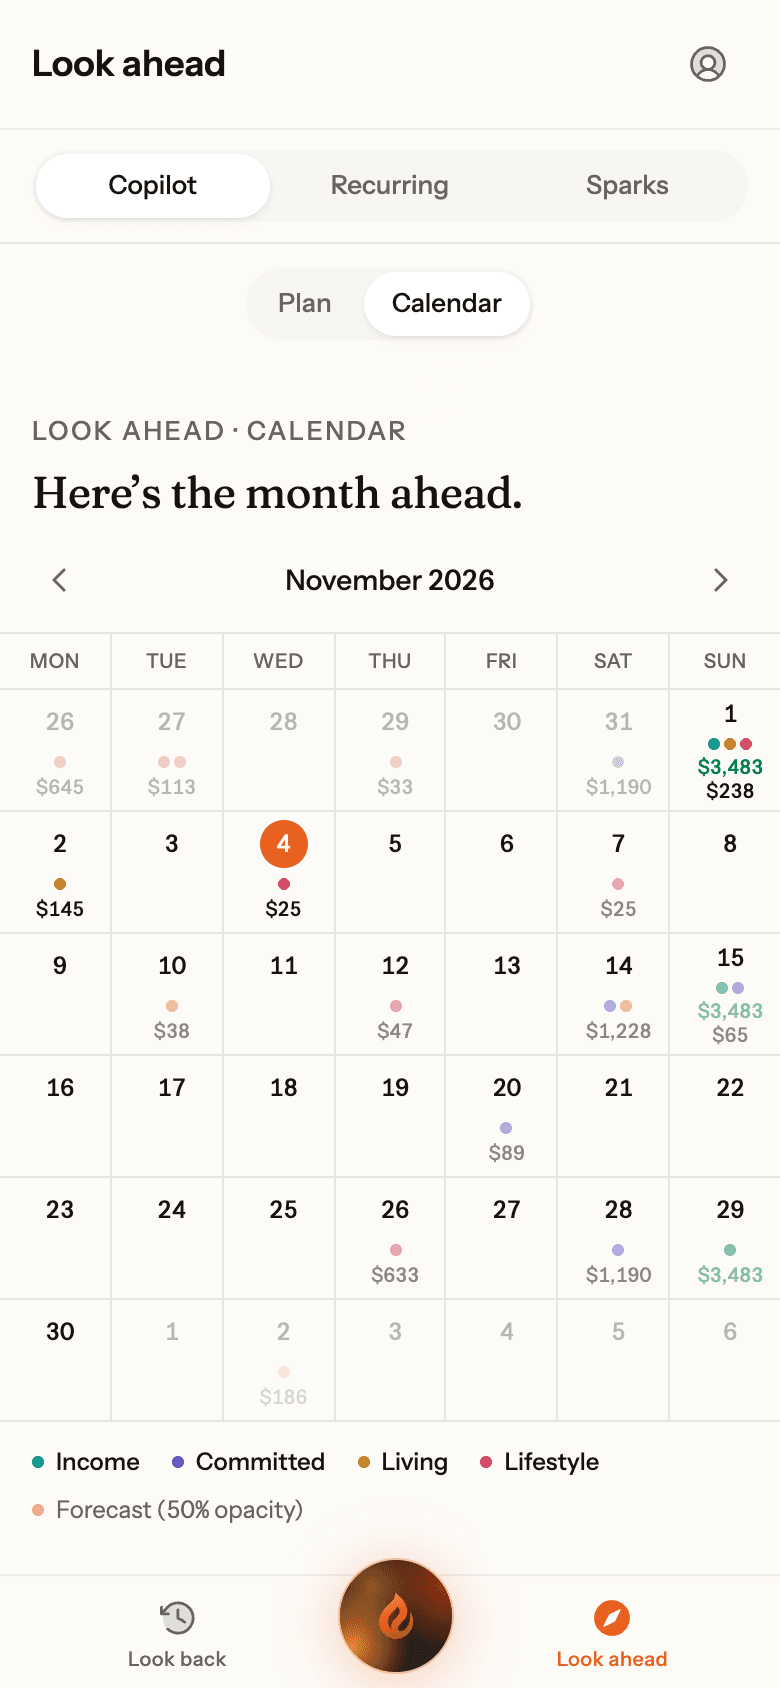
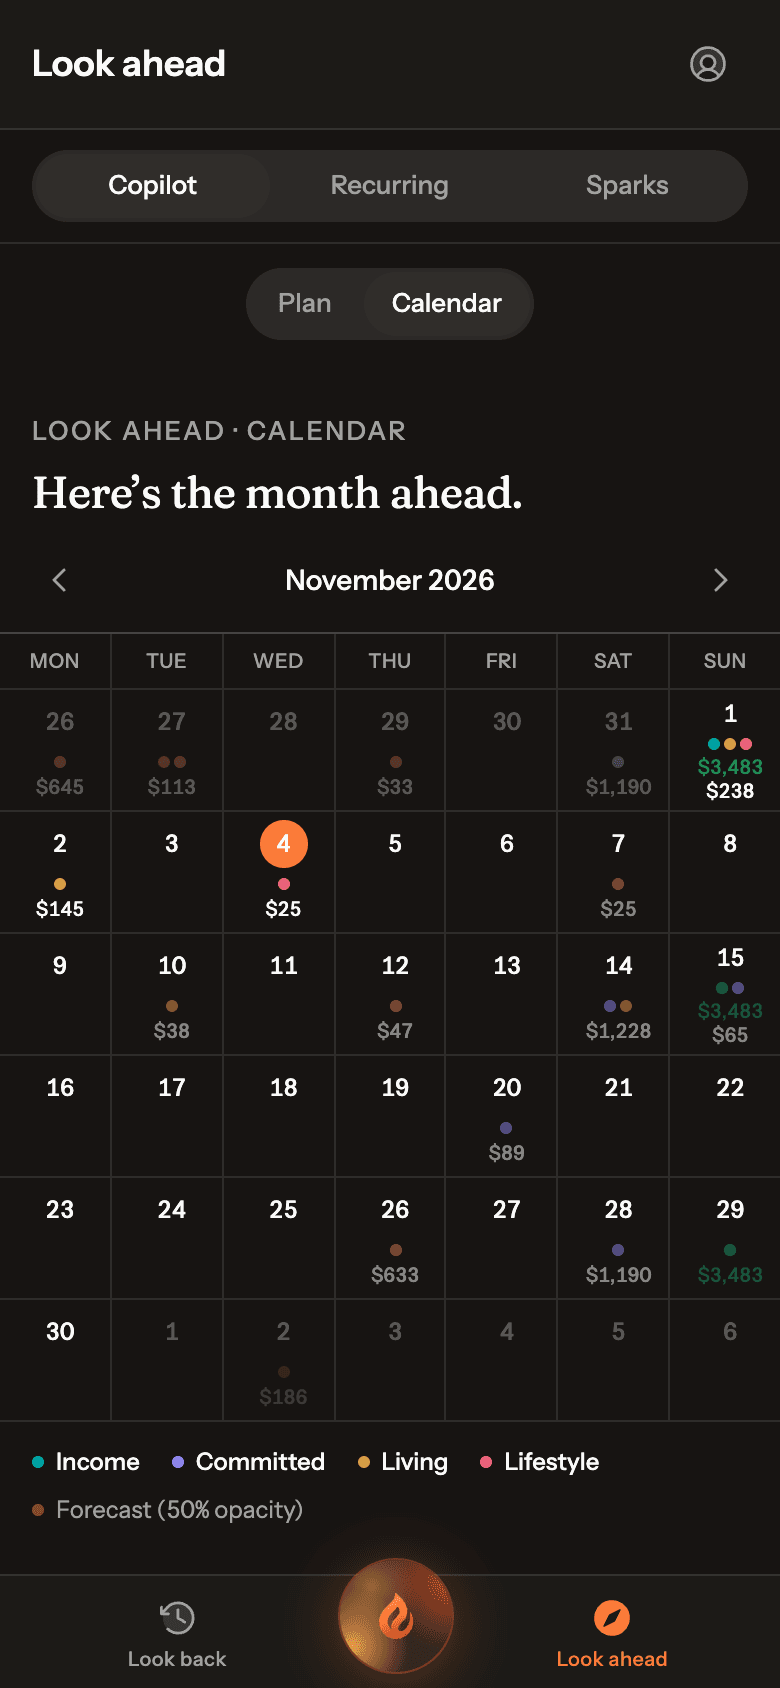
Real Ember screen · sample household