Guide · 4 steps
Email your exports and receipts
After your first import, the easiest way to keep Ember up to date is to email it your bank export each month. You can forward receipts to the same address.
Step 1: Find your Ember address
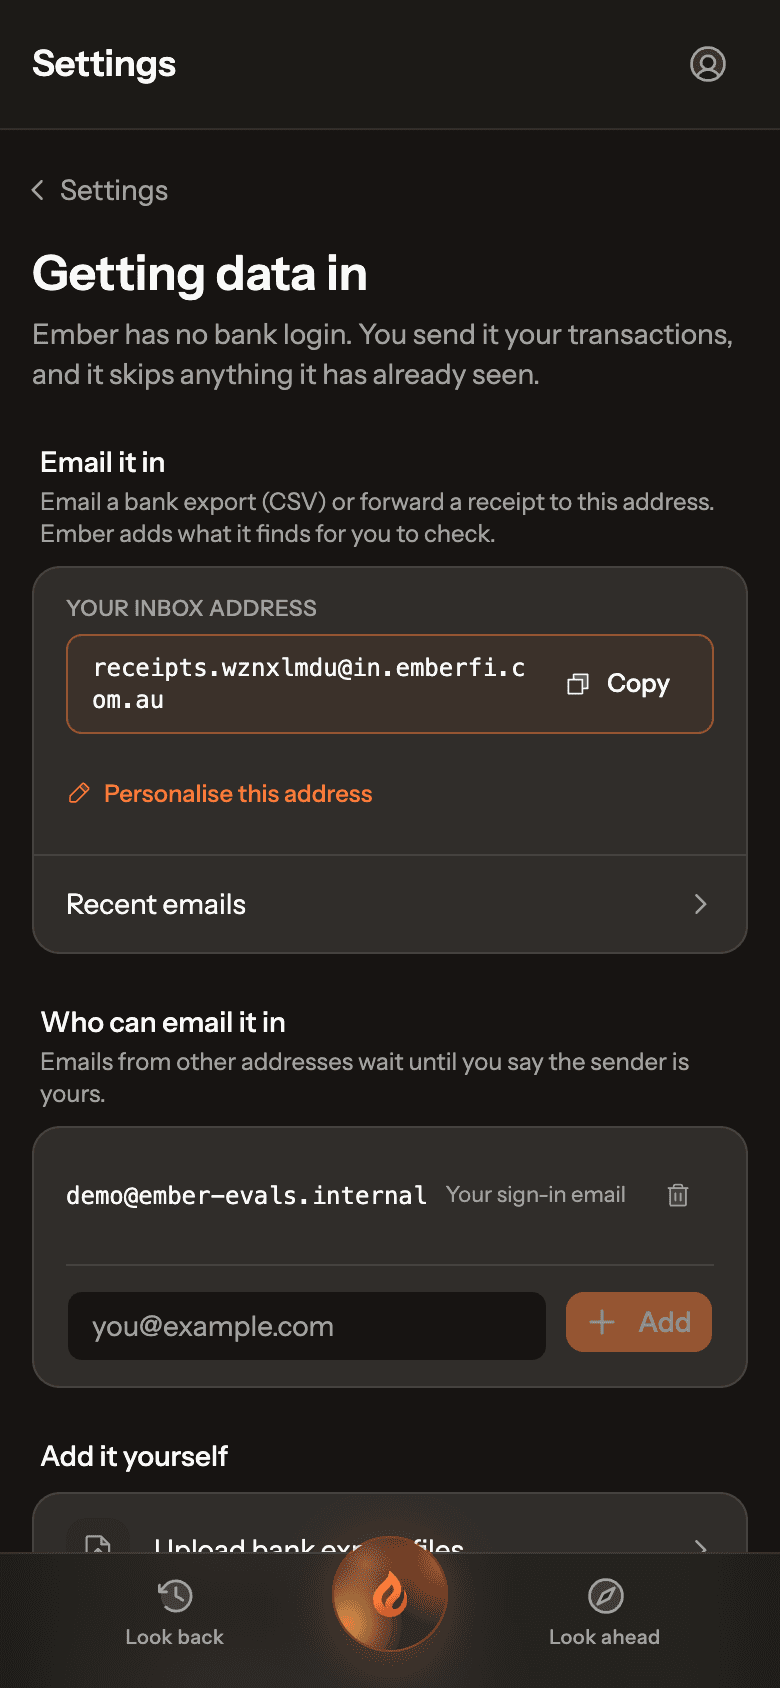
Tap the person icon at the top right to open Settings, then Getting data in. Your inbox address ends in @in.emberfi.com.au. Tap Copy.
Want something easier to remember? Tap Personalise this address and choose a name.
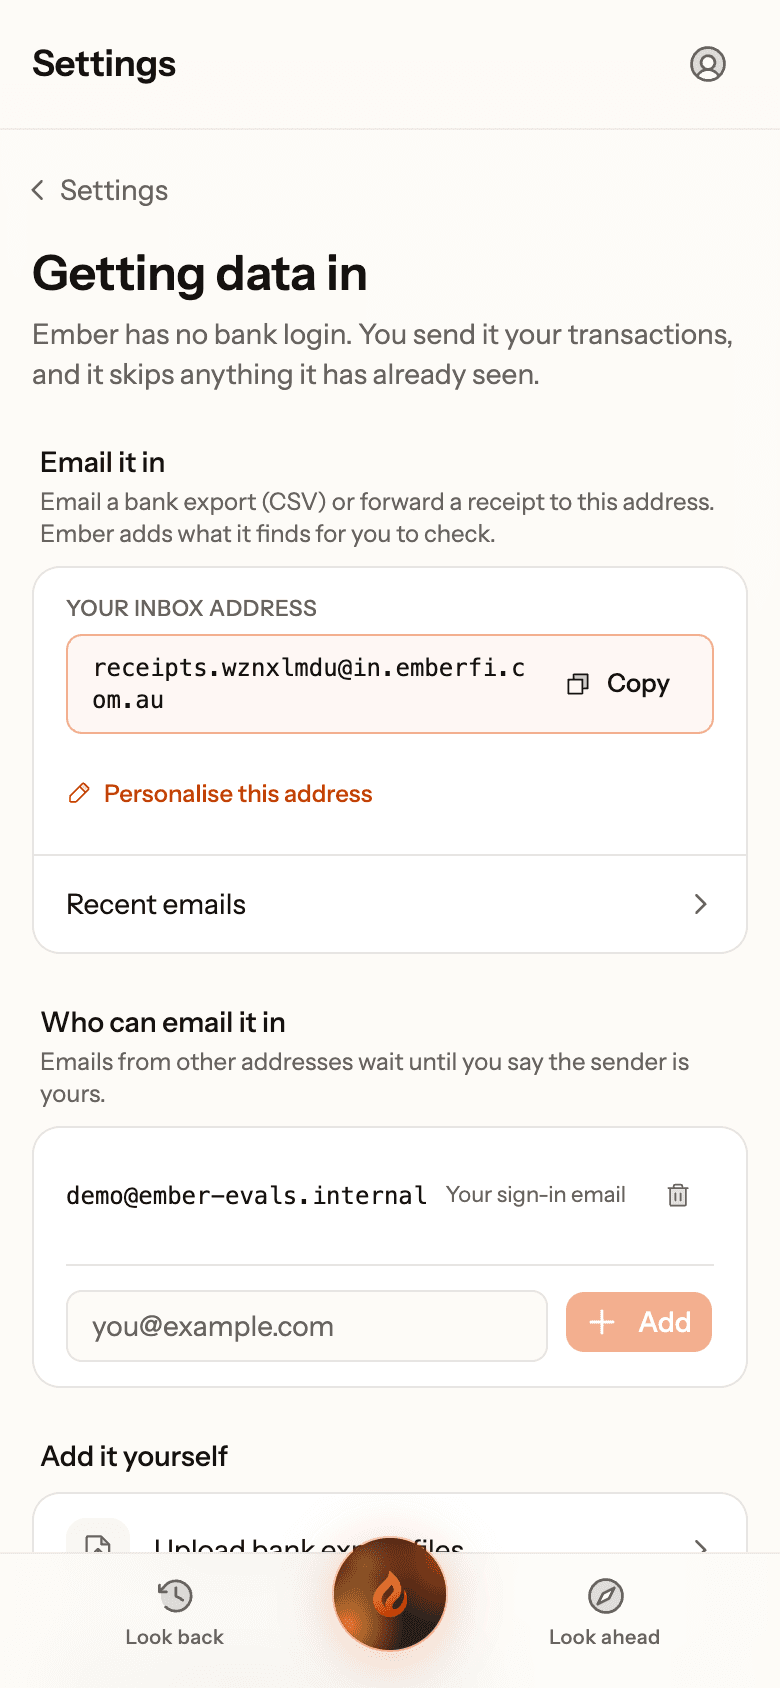
Real Ember screen · sample household Step 2: Email a bank export
Attach the CSV and send it from one of your own addresses. If Ember can read the file, it imports straight away and skips anything already in.
If it can’t read it with confidence, the file waits at the top of Pending review (the badge on Look back) with Map columns. Set the columns once and that bank’s next file imports on its own.
A file sent from an address that isn’t one of yours imports nothing on its own. It waits in Pending review until you tap It’s mine, trust and import, which adds that address to your senders, or Not mine, dismiss.
Step 3: Forward receipts
Forward a receipt email to the same address. Ember reads the amount, merchant and date from the email. Every receipt waits in Pending review for you to Approve, Edit or Reject, so nothing lands without you seeing it.
Ember reads the email itself. Photo and PDF receipts aren’t read yet.
Step 4: Check what arrived
Recent emails, on the same Settings page, lists every email Ember received and what it did with it.